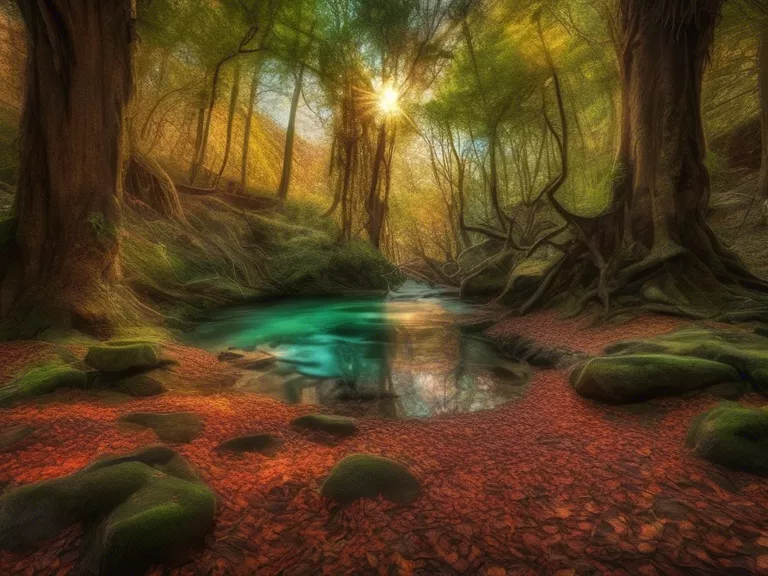
A Beginner’s Guide to Shooting HDR Photos for Vibrant Details
High Dynamic Range (HDR) photography is a technique that allows you to capture a greater range of light and color in your photos. By blending multiple exposures of the same scene, you can create images with vibrant details and striking contrast. If you're new to HDR photography, here is a beginner's guide to help you get started.
Understanding HDR Photography
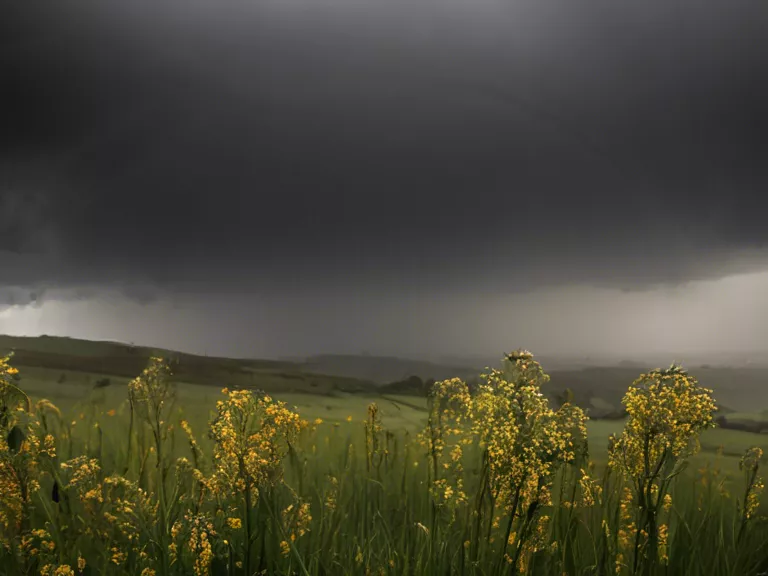
HDR photography involves taking multiple photos of the same scene at different exposure levels. By combining these photos in post-processing, you can create an image that captures the full dynamic range of light in a scene. This technique is particularly useful in situations where the lighting is challenging, such as shooting landscapes at sunrise or sunset.
Shooting HDR Photos
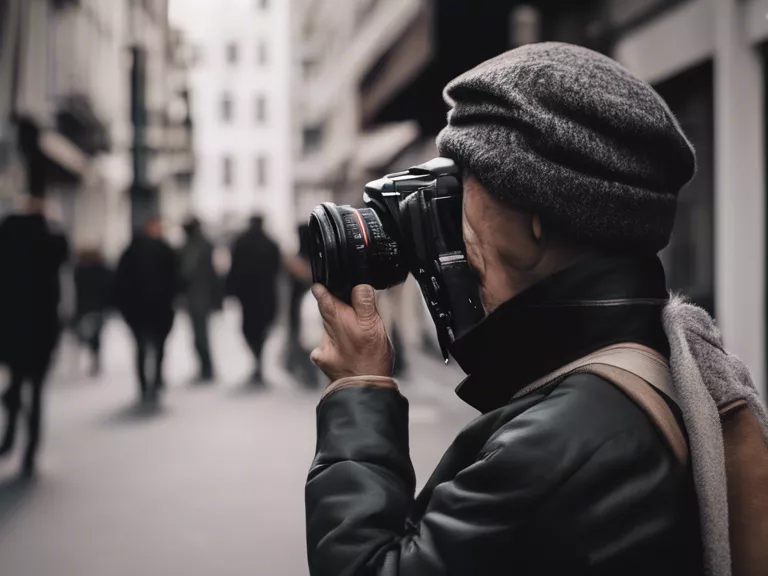
To shoot HDR photos, you will need a camera that allows you to manually adjust the exposure settings. Start by setting your camera to bracketing mode, which will automatically take a series of photos at different exposure levels. It's best to use a tripod to ensure that your photos are perfectly aligned.
Post-Processing HDR Images
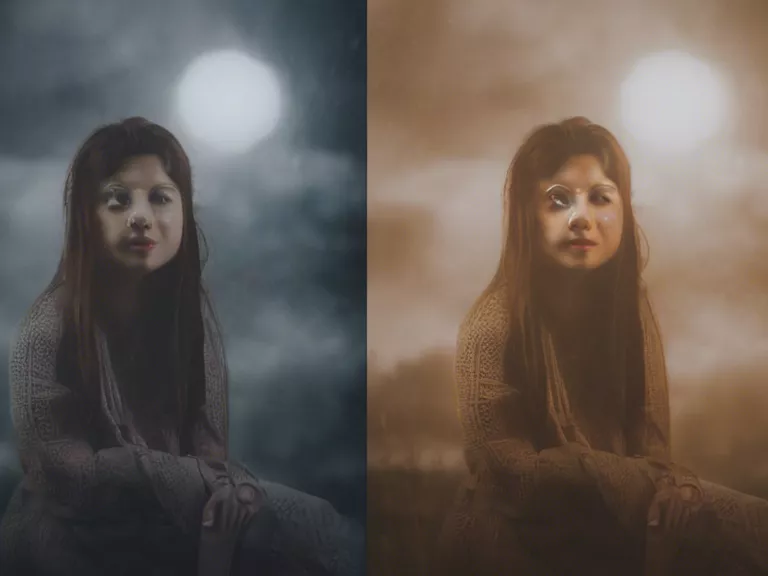
Once you have captured your bracketed photos, you can use editing software like Adobe Lightroom or Photoshop to merge them into an HDR image. Experiment with the settings to achieve the desired effect, but be careful not to overdo it, as this can result in unnatural-looking photos.
Tips for Shooting HDR Photos
- Choose a scene with a wide dynamic range of light
- Use a tripod to avoid camera shake
- Experiment with different exposure settings
- Be mindful of color saturation and contrast
- Practice and experiment to find your style
By following these tips and techniques, you can start creating stunning HDR photos with vibrant details and rich colors. With practice and experimentation, you will develop your own style and achieve impressive results.
